Be ready to enter your first flight in 5 minutes

App start

  • Make sure a connection to the internet is possible, the App needs it for the initial synchronisation
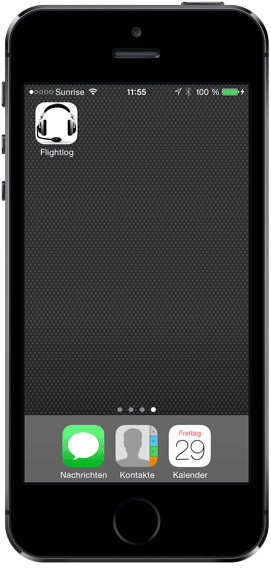
  • Tap on the FlightLog App icon
  • You'll see the splash screen for some seconds
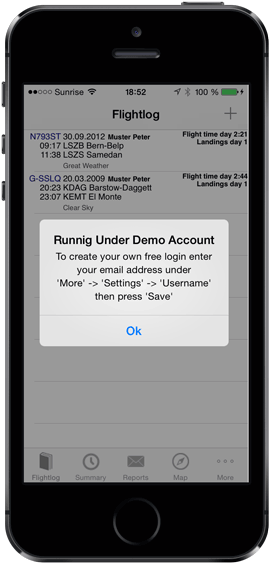
  • The App starts using the demo account
  • You see probably some flights which are entered unter the account of the demo user
  • Tap on Ok
  • To create your own user account do as in the box suggested and see the following steps below
Home screen   Splash screen   Message box running under demo account

Create new account

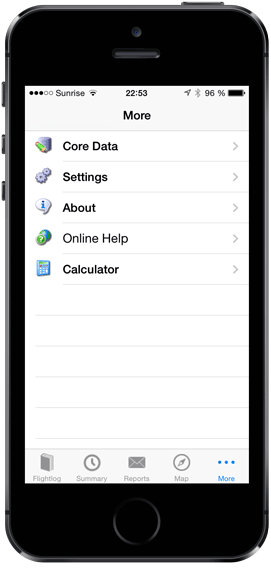
  • Tap on More on the tab bar on the bottom
  • Tap on Settings in the list
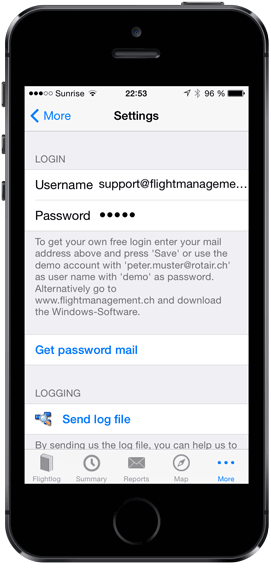
  • Enter a vaild mail adress in th Username field
  • If you like you can enter a password in the Password field otherwise a password will be generated automaticlly
  • Tap on More on top of the screen to go back and save you account data
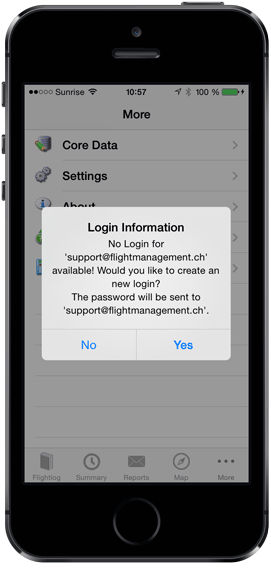
  • You'll be asked to create your own new account in the Login Information notification
  • Tap on Yes
Go to more settings   Enter mail address   Login information

User Switch

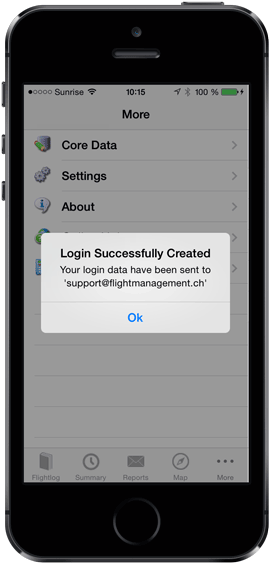
  • It may take a few seconds to process the request for the new account then you see the Message Login Successfully Created.An email with your account data will be sent to you as confirmation as well
  • The App switches the user from the demo account (Diese E-Mail-Adresse ist vor Spambots geschützt! Zur Anzeige muss JavaScript eingeschaltet sein!) to yours
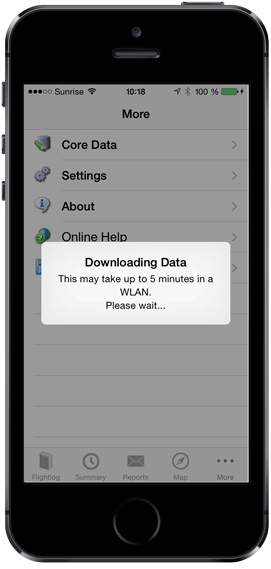
  • After the swich the App has to download initally the data of you account from our database server
Login successfully created   User switch   Downloading data

Enter an Aircraft

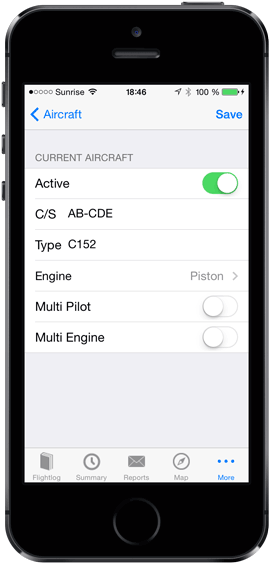
Before you can enter your first flight you have to Enter your first Aircraft.

Mandatory fields

  • Enter a Call Sign (the only mandatory field) for the aircraft

Optional Fields

  • The Type of aircraft ist used for holding aircrats of the sane type togther which is used for the Reports
  • The switches Engine, Multi Pilot and Multi Engine are used for evaluation in the flight log reports available unter Reports in the tab bar at the bottom
   Current aircraft

Enter a Waypoint

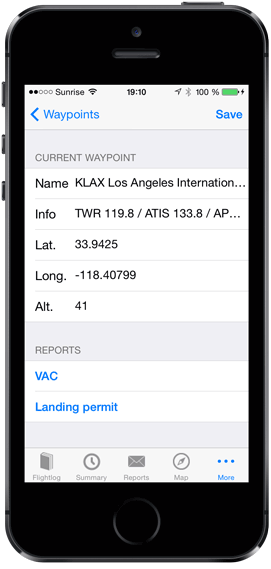
At least one Waypoint is neded as well.

Mandatory fields

  • Enter a Name (the only mandatory field) for the waypoint
  • Tap on Save to store the waypont you've entered
  • Then tap on Waypoints at the top of the screen to go back

 Optional Fields

  • In the field Info you can add some addtional information e.g. frequencies of the aiport / airfield
  • If you let the FlightLog app access the GPS and have entered coordinates (Latitude and Logitude) the app detects the take off and landing place automaticlly, when GPS is active and no waypoint exists for the current place, a new one will  be created with the current postion
  • The least field allows to enter the altitude of the waypoint
  • If Latitude and Logitude are available for the waypoint you can get a automatic generated Visual Approach Chart (VAC) and a Landing Permit report as an email atachment just by tapping VAC or Landing permit
   Current waypoint

Create your first flight

  • Choose the entered aircraft
  • Tap on Begin Flight the App tries to get your current Location
  • Choose the Arcraft you've entered before
  • If your flight has been finished tap on End Flight
  • Enter the Number of Landings (1 is default)
  • When finished all your entries tap on < Flightlog to go back to the previous screen
  • You've entered your first flight succesully!


Complete your user data

  • To complete your user data you can enter further information
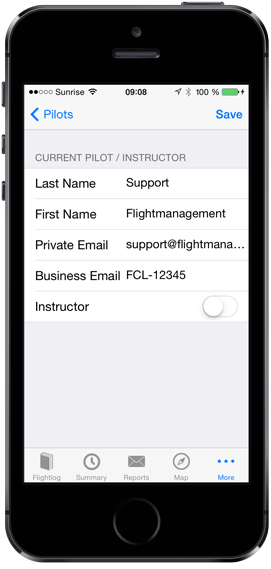
  • Enter your Last Name and your First Name they are used on the flightlog reports
  • The field Private Email is used as your username/login and can't be changed
  • In the field Business Email you can enter your License number which appears on the flightlog reports
  • If you fly as flight Instructor switch it on
  • After entering your data tap on Save
  Changing user data